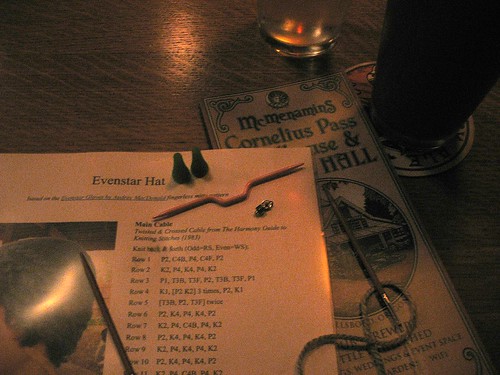
Six 'O clock on Friday evening found me happily ensconced in a booth at one of my favorite places, the Cornelius Pass Road House. Enjoying a really lovely light fruity beer by the name of Imperial Purple Haze; so named for it's color bestowed upon it by the generous amount of Boysenberries used in the brew, and casting on the Evenstar hat by Cathlyn Robinson. As I was prowling about that evening I didn't manage to get more done than the first couple rows, finished while waiting for my Hamilton burger and Cajun tots to arrive (they were delicious by the way).
The next day I picked it back up and really got to working on it and noticed something very upsetting...

Along the edges were I was supposed to have the start of a beautiful pair of left & right spirals, there was instead a pair of twisty thicker sections of fabric.
So I tore it out and double checked the pattern, it says to use P1-C4B-Main Cable-C4F-sl1 with no other cable band instructions other than those for the main cable. I was most puzzled and since I hadn't used a cabled pattern before I thought maybe I'd missed something so I pulled out my trusty stitch dictionary 365 Knitting Stitches a Year. There are two four stitch spiral cables in the book one works on a six row pattern and the other on four, which gives a tighter spiral.
Since the main cable works on a 24 row repeat either would work, I decided to use the six row repeat because I thought the spiral looked closer to the one in the pattern pictures.
I cast on again and this time worked the pattern as follows...
Row 1: p1-c4b-main cable-c4f-sl1
Row 2: p1-p4-main cable-p4-sl1
Row 3: p1-k4-main cable-k4-sl1
Row 4: p1-p4-main cable-p4-sl1
Row 5: p1-k4-main cable-k4-sl1
Row 6: p1-p4-main cable-p4-sl1
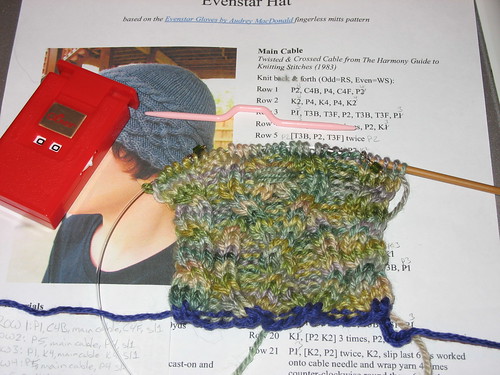
It was looking pretty good until...

The outer arms of the main cable made solid contact with my now properly spiraling outer cables. GRRRRRRRRRRR...
After frogging once again, I consoled myself with some Chocolate Dazs before taking on the pattern once more. To make sure I had enough space between the cables I added two stitches to either side of the main cable, making the sequence...
Row 1: P1-C4B-P2-Main Cable-P2-C4F-sl1
Row 2: P1-P4-K2-Main Cable-K2-P4-sl1
Row 3: P1-K4-P2-Main Cable-P2-K4-sl1
Row 4: P1-P4-K2-Main Cable-K2-P4-sl1
Row 5: P1-K4-P2-Main Cable-P2-K4-sl1
Row 6: P1-P4-K2-Main Cable-K2-P4-sl1
This time though I went ahead and charted it out to make sure it looked like there would be enough space between the outer arms of the main cable & the cabled edges.
I have to say that so far I'm most pleased with the results and hope that I can finish it by the weekend.
ETA: I only did seven repeats and though the pattern doesn't specify how many stitches to pick up, if you go by the first decrease it would need to be a number divisible by 10. I made mine divisible by 8 and changed to 1 row between decreases a couple decrease rows early.


